Installing mouse skates sounds relatively straightforward — and thankfully, it is. However, a couple of tips can make the process even easier.
First, gather all the materials you might need. For replacing skates, you won’t need much. The most important tool is something like a small plastic spudger to get underneath the old skates and start peeling them up. Realistically, even slightly longer fingernails work well for this.
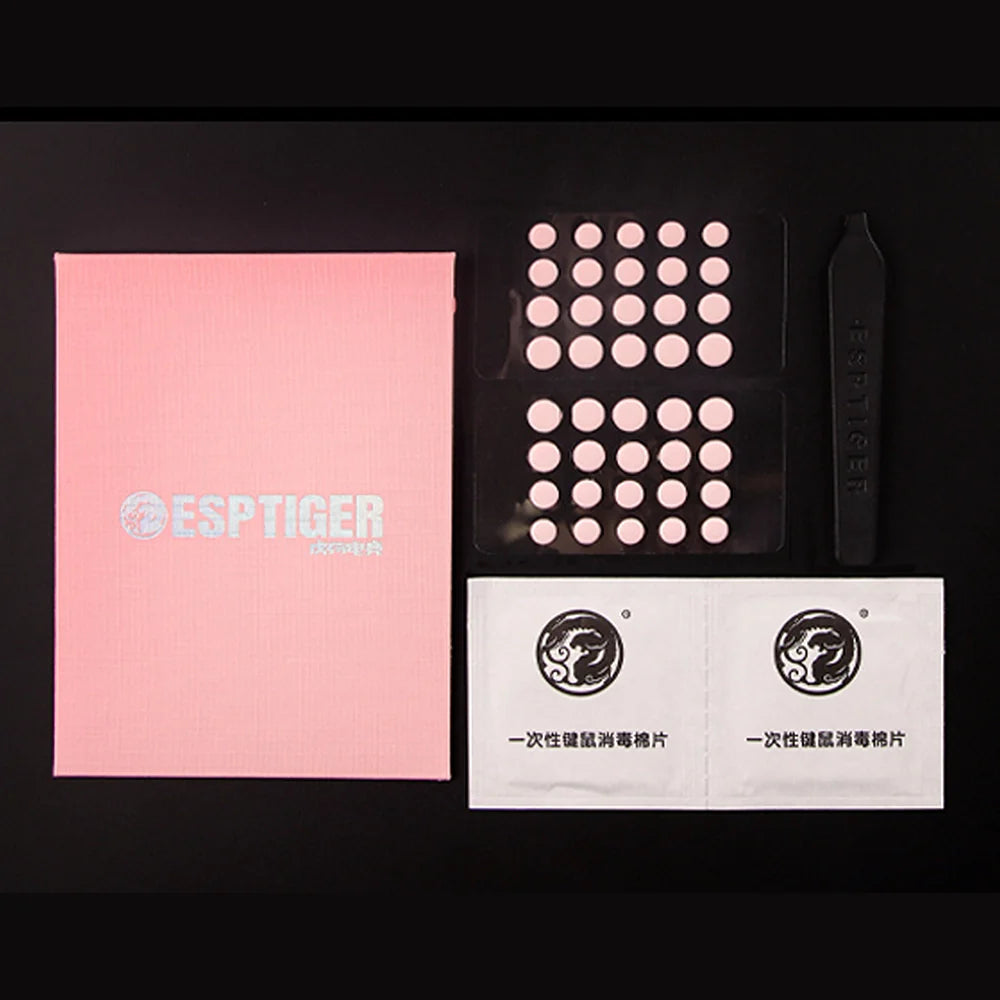
Once the old skates are removed, clean off any residue using a product like Goo-Gone or isopropyl alcohol. We include small alcohol wipes in our mouse skate kits for this purpose.
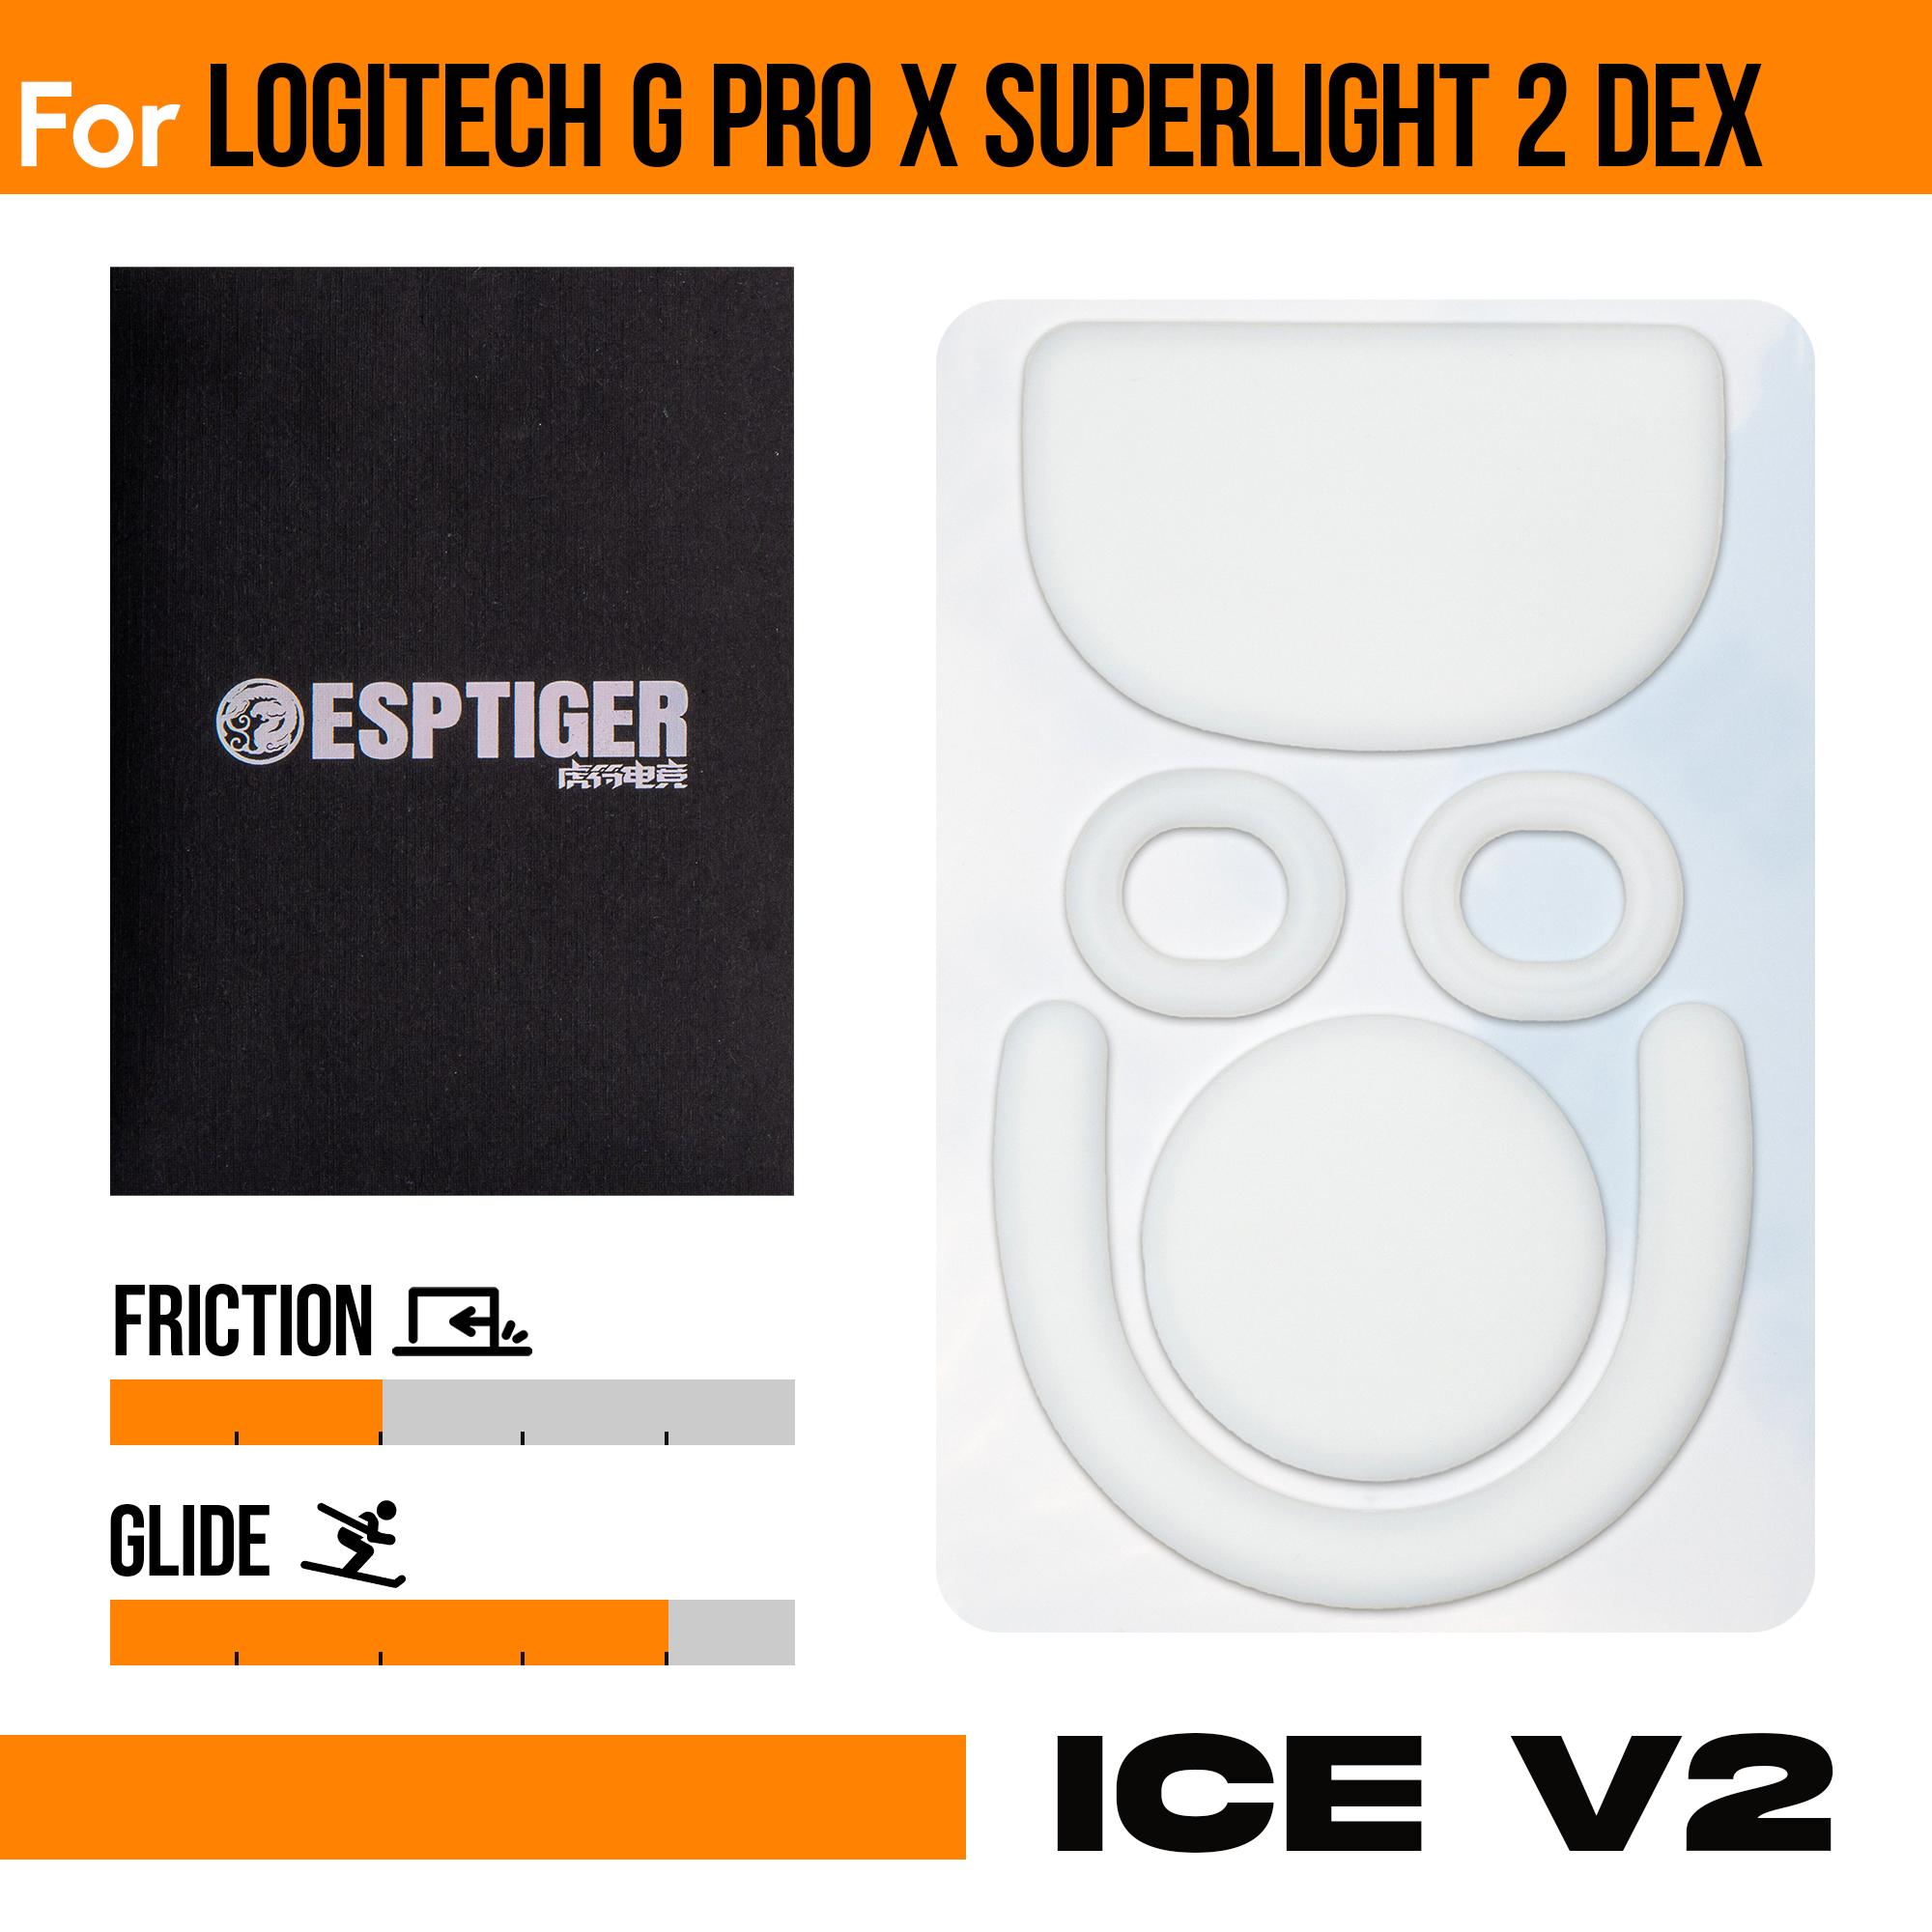
Next, peel the new skates off the plastic backing and carefully align one corner of the skate with one corner of the embossed mouse skate area on your mouse. Gently press the new skate down, making small adjustments as needed. If necessary, you can peel the skate back gently and reapply it to make corrections.
Once you've installed one skate, move on to the others. After all the skates are applied, you’re done! If you notice varying shades on the bottom of the mouse — where the skate is adhering better or worse — this is normal. In fact, your stock skates likely exhibited this as well, but it wasn’t visible because they were less transparent.
Pro tip: Use a hair dryer or a similar low-heat air gun to warm the adhesive on the skates before removal. This makes the process easier and reduces leftover adhesive. If you are very careful and use heat, you can even preserve the original skates. BE VERY CAREFUL WHEN USING HEAT. Modern lightweight mice often have very thin shells that can warp or melt if exposed to too much heat.
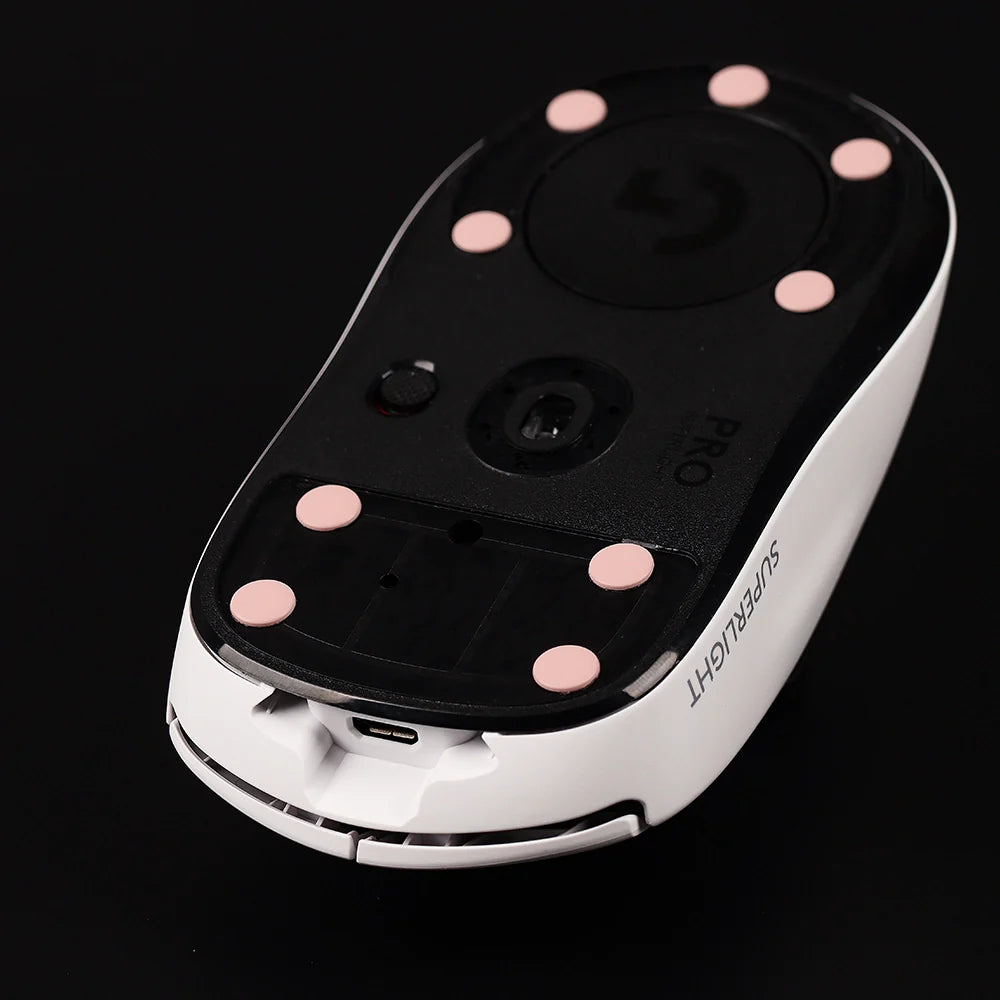
If you’re using dot skates, the installation is even easier. Follow the same removal process, then simply choose where to place the new dots! Be sure to place them at each corner of the mouse and anywhere that might tilt or dig into your mousepad.